You’ve finally decided to swap out that dated, builder-grade wallpaper — maybe it’s a floral pattern from 2003, maybe it’s commercial vinyl from a hotel-room flip you’re renovating. The plan seems simple: get it off, prep the wall, hang something better. Then you pull the first strip and watch a chunk of drywall paper (that thin layer of kraft paper bonded to the front of standard drywall sheets) come with it, leaving a fuzzy, abraded patch that won’t accept new wallcovering cleanly. At that point, a two-day project turns into a skim-coat repair job that can run $500–$1,500 before you ever unroll the new paper. Preventing that outcome — or at least keeping it contained — is almost entirely a function of which removal product you choose and how you sequence the work. This guide prices out every major product category, names the tradeoffs, and ends with clear decision rules so you know exactly which tool belongs in your hands before you start.
Why the Wall Type Changes Everything Before You Buy a Single Product
The single variable that should govern your entire removal strategy is what’s behind the wallpaper: skim-coated drywall, bare drywall, or plaster. Here’s why it matters.
Bare drywall — meaning the installer hung wallpaper directly over unprimed or lightly primed gypsum board — is the most fragile substrate you’ll encounter. Water is the enemy here. Soak the wall to loosen adhesive, and you’re simultaneously weakening that paper facing on the drywall itself. The Wallcovering Association’s Substrate Preparation Guidelines specifically flag direct-to-drywall installs as high-risk for facing damage during removal, recommending that installers prime with an oil-based or shellac primer before any wet removal attempt.
Skim-coated drywall — where a thin layer of joint compound was floated over the entire surface before the wallpaper went up — is your best-case scenario. The skim coat acts as a sacrificial layer, so moisture doesn’t reach the paper facing directly. Owners on Apartment Therapy and Houzz forums consistently report that skim-coated walls tolerate even aggressive steam removal without significant facing damage.
Plaster walls (common in pre-1960s homes) are nearly bulletproof. You can use water, steam, and scoring tools with minimal surface damage risk. The bigger concern with plaster is not the wall but the time: plaster-backed adhesive often needs longer dwell time to release.
Quick diagnostic: Knock on the wall. Plaster sounds dense and slightly dead. Drywall sounds hollow. If you’re not sure, find an outlet plate, remove it, and look at the wall cross-section — plaster runs 3/4 inch or more; drywall is typically 1/2 inch.
The Product Landscape: What’s Actually Available and What It Costs
1. Fabric Softener + Warm Water (DIY Concentrate)
Cost: $2–$5 total
The classic home-remedy approach dilutes liquid fabric softener (roughly 1 part softener to 3 parts warm water) in a spray bottle or pump garden sprayer. This Old House’s wallpaper removal editorial guide acknowledges this as a workable solution for older, porous wallpapers, particularly on plaster walls where moisture tolerance is high.
Tradeoffs: Dwell time is unpredictable. You’ll saturate, wait 5–10 minutes, test a seam, re-saturate if needed. Owners report that the surfactant in fabric softener helps the water penetrate adhesive without requiring as much total volume of water as plain water — a marginal but real advantage on borderline substrates. The downside is zero chemical aggression: if you’re dealing with clay-based adhesive (common under older commercial vinyl), fabric softener barely touches it.
Best for: Plaster walls, older residential installations, budget-constrained projects where wall damage risk is low.
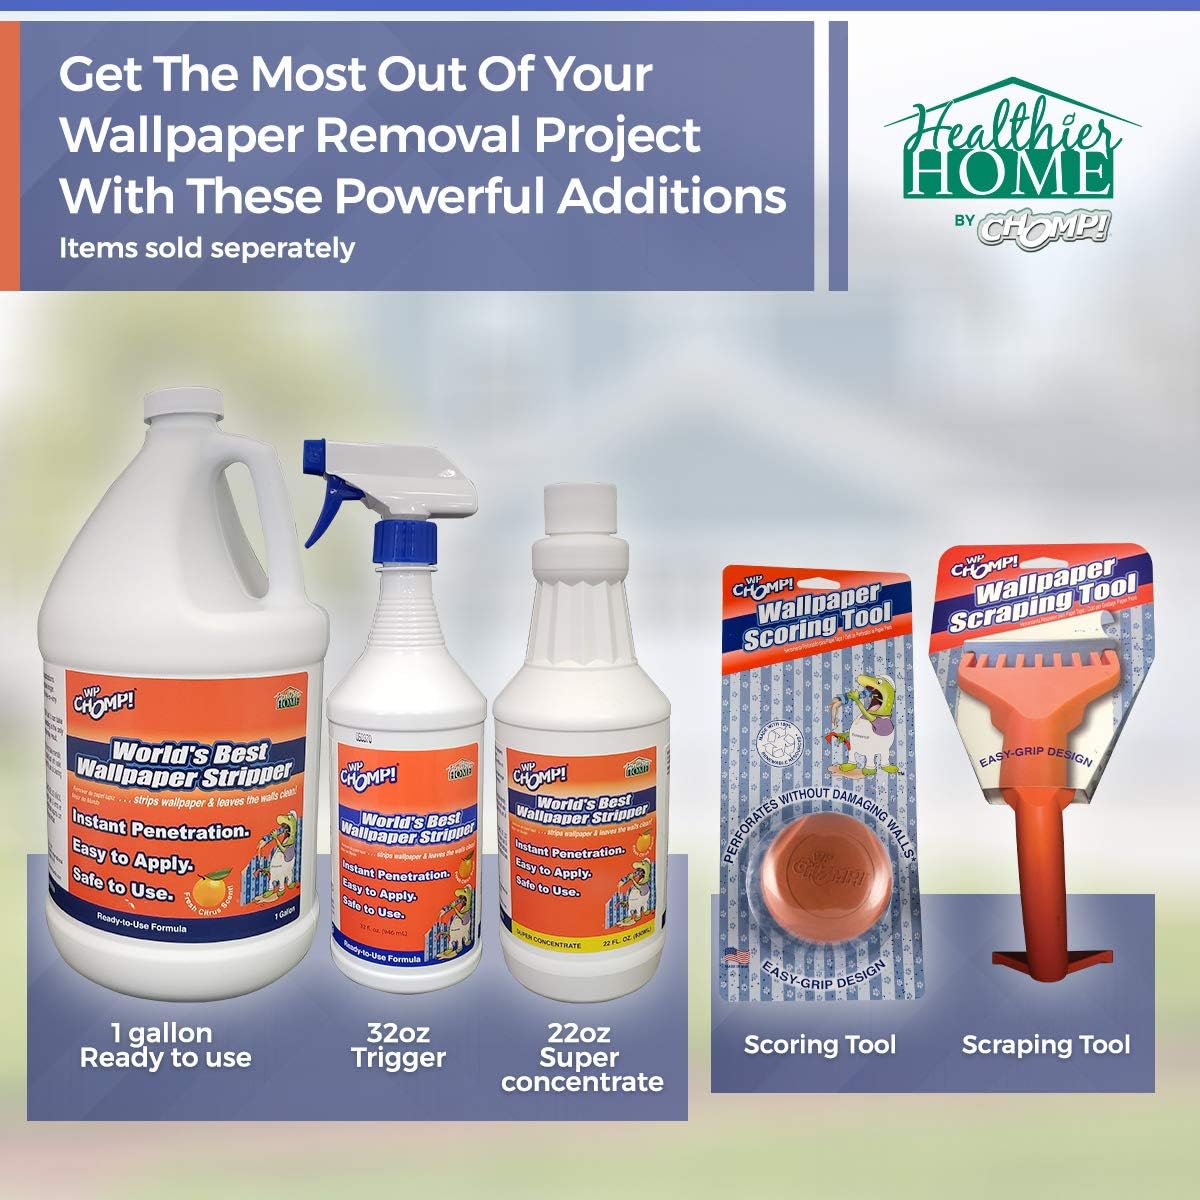
2. Enzymatic Liquid Removers (DIF, Zinsser, WP Chomp)
Cost: $10–$25 per concentrate bottle, covers 500–1,000 sq ft when diluted
This is the workhorse category. Products like DIF Liquid Concentrate and Zinsser’s Paper Tiger companion solution use enzymes to break down the starch and cellulose compounds in paste-based adhesives. WP Chomp is an orange-oil-based variant that reviewers consistently describe as more pleasant to use (the smell matters on a full-day job in a closed room) with comparable penetration performance.
Per published spec sheets, DIF Liquid is designed to be diluted in warm water in a pump sprayer or wallpaper scoring tray. Manufacturer guidance calls for a 10–15 minute dwell time before attempting removal.
Tradeoffs: Enzymatic removers are genuinely more effective than fabric softener on modern vinyl-coated wallpaper, but they still rely on water as a carrier — meaning bare drywall risk is real. House Beautiful’s feature on common wallpaper removal mistakes specifically calls out over-saturating drywall with liquid remover as the leading cause of facing tears. The cost-per-square-foot math is excellent: a $15 bottle of DIF concentrate covers a large room for roughly 1.5 cents per square foot, making it the most cost-efficient chemical option in the category.
Best for: Paste-based wallpapers on skim-coated drywall or plaster; any project where budget is a primary constraint.
3. Gel Removers (Smart Strip, Piranha Gel)
Cost: $20–$40 per quart, covers 100–200 sq ft
Gel formulations solve the single biggest problem with liquid removers: they stay where you put them. A liquid runs down the wall within seconds; a gel clings to vertical surfaces, maintaining contact with the adhesive for the full dwell time without re-application. Smart Strip (originally a paint stripper reformulated for wallcovering) and Piranha Wallpaper Removing Gel are the most commonly cited options in professional installer forums.
Across aggregated owner reviews, the pattern is consistent: gel removers dramatically reduce the number of re-application passes needed, which in turn reduces total water volume introduced to the wall. That’s the key benefit — not raw chemical strength, but efficiency.
Tradeoffs: Cost per square foot is 4–6x higher than enzymatic liquids. For a 400 sq ft room (one good-sized bedroom), you’re looking at $80–$160 in product alone. If you’re managing multiple rooms or a commercial project, this adds up fast. Some owners also report that gel residue requires an additional rinse-down before priming, adding a step.
Best for: Bare drywall situations where minimizing moisture is critical; one-room residential projects; professionals who bill hourly and can absorb product cost in labor savings.
4. Steamers
Cost: $50–$120 to purchase (Wagner, HomeRight); $40–$80/day to rent
A wallpaper steamer — essentially a water reservoir that heats water to produce steam, delivered through a flat plate you hold against the wall — is the oldest professional removal method still in widespread use. This Old House’s drywall repair guide notes that steam is the most reliable tool for releasing clay-based adhesive, which resists enzymatic chemistry almost entirely.
Tradeoffs: Steam introduces heat and moisture simultaneously, which means bare drywall is at significant risk. Professional installers documented in trade publications consistently recommend steamers only for plaster walls or skim-coated surfaces. The learning curve is also real: hold the plate too long in one spot and you’ll soften the drywall or even bubble latex paint on the adjacent trim.
The rent-vs-buy math is worth running. For a single-room job, renting at $40–$80/day makes obvious sense. For a full gut-renovation of a house with plaster walls throughout, purchasing a mid-range unit around $80–$100 pays for itself in the second room.
Best for: Plaster walls; clay-based or very old adhesives; contractors doing volume removal work in pre-1970s housing stock.
5. Scoring Tools (Papertiger, Zinsser Paper Tiger)
Cost: $15–$30
A scoring tool — a handheld device with small rotating wheels that punch micro-perforations through the wallpaper face — is not a standalone removal method. It’s a prep tool used before applying any liquid or gel to help the chemistry penetrate the wallpaper’s surface layer.
Tradeoffs: This is where the highest damage risk lives. Over-scoring — pressing too hard or making too many passes — punctures through the wallpaper and into the drywall facing. The Wallcovering Association’s technical bulletin explicitly warns against using scoring tools on walls with thin or suspected bare drywall, recommending a light single pass at most. Apartment Therapy’s owner-experience roundup includes multiple accounts of scoring damage that required full skim-coat repairs before rehanging.
Used with restraint on appropriate substrates, scoring tools genuinely accelerate liquid penetration and reduce overall project time. Used aggressively on bare drywall, they create the very damage you’re trying to avoid.
Best for: Vinyl-faced wallpapers (which are otherwise nearly impermeable to liquid removers) on plaster or skim-coated walls.
By the Numbers
| Product Category | Material Cost (400 sq ft room) | Damage Risk: Bare Drywall | Best Substrate |
|---|---|---|---|
| Fabric softener DIY | $3–$5 | Medium | Plaster |
| Enzymatic liquid (DIF, Zinsser) | $15–$25 | Medium-High | Skim-coat, plaster |
| Gel remover (Smart Strip, Piranha) | $80–$160 | Low-Medium | Bare or skim-coat drywall |
| Steamer (rented) | $40–$80/day | High | Plaster only |
| Scoring tool (add-on) | $15–$30 | Very High if overused | Plaster, skim-coat only |
The Real Hidden Cost: Drywall Repair
No product comparison is complete without pricing the failure case. This Old House’s drywall repair guide puts skim-coating a damaged room at $200–$600 in materials and professional labor for a typical bedroom, depending on how much facing was torn. Full rooms with extensive damage can require a level-5 skim coat (a complete surface float), which professionals typically charge $1.50–$3.00 per square foot — or $600–$1,200 on a 400 sq ft room before any wallcovering goes up.
This changes the math on gel removers considerably. Spending $80–$160 on gel instead of $15–$25 on enzymatic liquid looks expensive until you factor in a $600 skim-coat repair that gel likely would have prevented.
Decision Rules: If X, Then Y
If your walls are plaster: Use enzymatic liquid or a steamer. Spend the least money here — plaster is forgiving. Fabric softener is even a reasonable starting point.
If your walls are skim-coated drywall: Enzymatic liquid with a light single scoring pass on vinyl-faced paper is the right combination. Keep a spray bottle handy; work in sections so you’re never over-saturating a large area.
If your walls are bare drywall (unprimed, no skim coat): Use gel remover only. Skip the scoring tool entirely. Work in 2-square-foot sections. Accept that some facing damage may be unavoidable and price a skim-coat repair into your project budget before you start.
If you’re managing a multi-room or commercial project on plaster: Rent or purchase a steamer. The labor time saved on clay-based adhesive alone justifies the cost within the first room.
If you’re flipping a property and every hour of labor has a dollar value: Gel remover plus enzymatic liquid in sequence (gel to penetrate, liquid rinse to clean adhesive residue) is the approach owners and professional installers consistently report reduces total active work time and repair callbacks. The higher product cost is the cheapest line item in the project.
The bottom line is that wallpaper removal is a substrate-first decision, not a product-first one. Identify what’s behind the paper before you buy anything, price in the cost of getting it wrong, and the right product category becomes obvious.