You’re mid-install. The first drop (a single vertical strip of wallpaper) is on the wall, and there’s a bubble the size of a golf ball sitting right in the center panel. You grab the plastic smoother that came bundled with your wallpaper order, drag it across the surface — and now you’ve got a crease. This is the moment most people realize that smoothing tools are not an afterthought. They’re half the job.
Smoothing tools are the handheld devices — brushes, squeegees, plastic blades, foam rollers, seam rollers — used to press wallpaper flat against the wall, push out trapped air, and bond the material to the surface evenly. They’re not glamorous, and most guides treat them as a footnote. But across aggregated installer feedback on Houzz and trade forums, the pattern is consistent: wrong tool for the substrate adds 30–60 minutes per room and introduces damage that can’t be undone. This guide will walk you through the core kit, explain which tool does what, name the tradeoffs, and give you a clear decision rule at the end.
The Four-Tool Core Kit (And What Each One Actually Does)
Think of smoothing tools in terms of pressure zone: broad-field tools handle the middle of each strip; edge tools handle seams and trim lines; detail tools handle corners and obstacles. Most installs need at least three of these four categories covered.
1. Wallpaper Smoothing Brush
A wallpaper smoothing brush — sometimes called a papering brush — is a wide, soft-bristled brush, typically 10–12 inches across, used to sweep wallpaper flat from the center outward toward the edges. The bristles are soft enough to avoid marking delicate substrates (like grasscloth or non-woven fabric-backed papers) but firm enough to push paste and air out from behind the panel.
This is the go-to tool for traditional paste-the-wall and paste-the-paper installs. Per This Old House’s wallpaper installation guide, the brushing motion should always move from the center strip outward in overlapping strokes — never drag back toward the center, which traps air rather than releasing it.
Tradeoff: Brushes are slower than plastic squeegees on large flat walls. If you’re hanging a Type II vinyl (a mid-weight, commercial-grade wallcovering typically used in hotels and high-traffic spaces — heavier than residential paper, rated for durability and scrubability) over a smooth primed surface, a brush will add time without adding quality over a good squeegee. Save the brush for textured papers, grasscloth, or any substrate where pressure marks are a real risk.
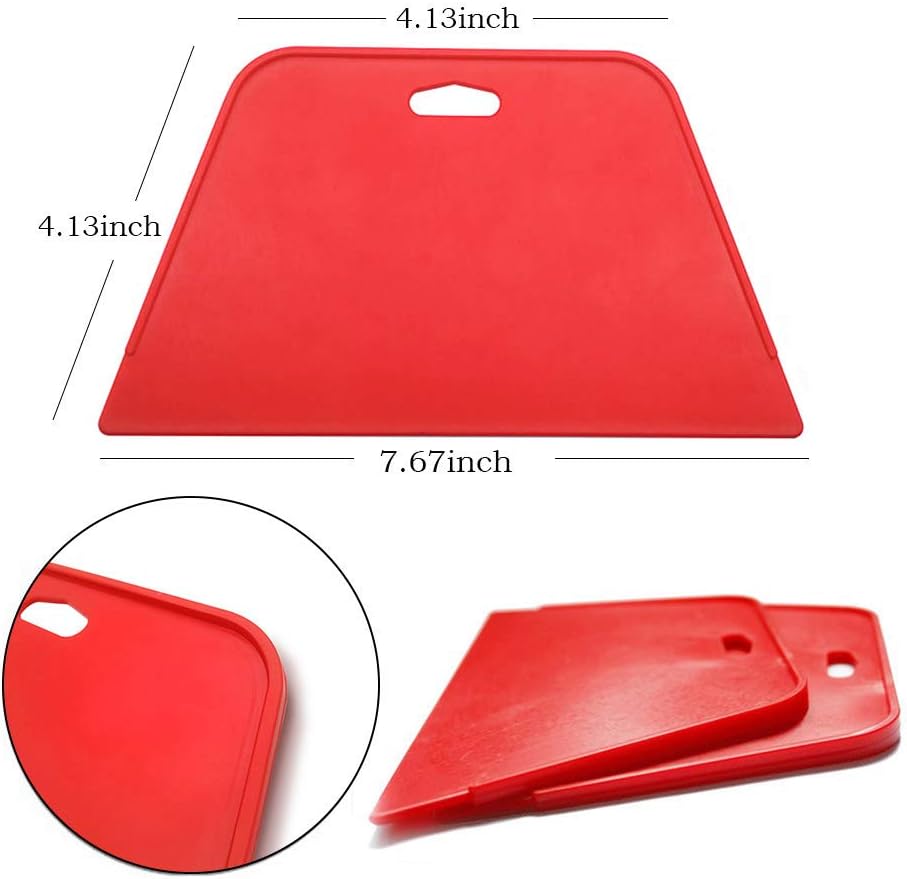
2. Plastic Smoother / Squeegee
The plastic smoother — a rigid or semi-rigid blade, roughly the size of a wide putty knife — is the workhorse for most vinyl installs. It applies firm, even pressure across a larger surface area faster than a brush. Many professionals keep two on hand: a wider blade (8–10 inches) for field work and a narrower one (4–6 inches) for edges and corners.
Architectural Digest’s wallpaper installation overview notes that plastic smoothers are especially effective with peel-and-stick materials, where the goal is eliminating air pockets before the adhesive fully bonds. On peel-and-stick products — like those from RoomMates or Tempaper — you typically have a limited repositioning window (the time during which the panel can still be peeled back and re-applied without damage), so working quickly with a reliable blade matters.
Tradeoff: Firm plastic can mark or scuff delicate surfaces. Many installers wrap the edge of a plastic smoother in a thin cloth or use a felt-tipped version for silk or embossed papers. If you’re working with a high-end product — a Rebel Walls or Milton & King mural panel, for example — the cost of a replacement panel dwarfs the cost of a better tool.
3. Seam Roller
A seam roller is a small roller, typically 2–3 inches wide with a hard rubber or plastic wheel, used specifically to press down the edges (seams) where two wallpaper strips meet. Seams are the most visible failure point in any wallpaper install — a lifted seam within 6–12 months is almost always the result of inadequate pressure at bond time.
The Wallcovering Association’s Commercial Wallcovering Installation Standards Guide identifies proper seam rolling as one of the top-three factors in long-term adhesion, particularly on vinyl substrates. The guidance is to roll seams 15–20 minutes after hanging (not immediately, which can squeeze paste out from behind the seam) with moderate, consistent pressure.
Tradeoff: Do not use a seam roller on embossed, textured, or raised-pattern wallpapers. The wheel will flatten the texture permanently. On those materials, use a damp sponge or the flat of your palm to press seams instead. Apartment Therapy’s tool roundups consistently flag this as the most common beginner mistake: reaching for the seam roller out of habit on a material that will show the damage immediately.
4. Corner Tool / Detail Smoother
A corner tool is a small, angled plastic or rubber piece designed to press wallpaper cleanly into inside and outside corners, around window casings, and behind switch plates. It’s the tool most DIY kits omit and most first-timers wish they had by the second wall.
Corners are where most bubbles and lifting originates. Without a dedicated corner tool, you’re folding paper with your fingernail — which either tears lightweight substrates or leaves the corner under-bonded on heavier vinyl. Houzz installer discussions frequently cite a simple angled bone folder (borrowed from bookbinding) as a valid substitute if a dedicated wallpaper corner tool isn’t available.
By the Numbers
| Tool | Best substrate match | Approximate cost (2026) | Skip if… |
|---|---|---|---|
| Smoothing brush | Grasscloth, fabric-backed, embossed | $18–$45 | Installing smooth vinyl at speed |
| Plastic smoother | Non-woven vinyl, peel-and-stick | $8–$22 | Working with delicate or textured surfaces |
| Seam roller | All vinyl, non-woven, standard paste | $6–$16 | Paper is embossed or raised-pattern |
| Corner tool | All types | $5–$15 | Room has no inside corners (rare) |
Where Installers Lose Time: The Three Most Common Tool Mistakes
Aggregated feedback from Houzz installer threads and trade publication coverage of Type II commercial installs points to three repeated failure patterns — all tool-related, all preventable.
Using one tool for the whole job. A plastic smoother is fast on flat walls, but dragging it into a corner tears paper. A brush is gentle on delicate surfaces but agonizingly slow on a 12-foot commercial run of smooth vinyl. Professionals build a kit; they don’t optimize for a single tool.
Rolling seams too early. Seam rolling immediately after hanging — before paste has started to tack — pushes adhesive out from behind the seam rather than consolidating it. The seam looks perfect for 30 days and then lifts. The standard wait is 15–20 minutes post-hang before rolling. This Old House’s hanging guide specifies this timing explicitly and notes it’s the single step most commonly skipped.
Skipping the corner tool on Type II vinyl. Commercial-grade Type II vinyl (heavier, more dimensionally stable, typically 20–22 oz per linear yard) does not fold into corners easily. Forcing it without a dedicated tool either creates a bubble at the fold or fractures the backing. On a hotel corridor or restaurant install where project budgets routinely run $2,000–$10,000+, replacing a mishandled panel wipes out margin fast. Professional installers in Wallcovering Association documentation treat corner tools as mandatory, not optional.
Matching Tools to Substrate: The Decision Frame
Here’s how to select your kit based on what you’re actually installing:
If you’re hanging peel-and-stick (RoomMates, Tempaper, Chasing Paper range): Lead with a wide plastic smoother and have a corner tool ready. You don’t need a seam roller for most peel-and-stick runs because the material is typically designed as a single continuous roll with no seams — but if you’re tiling peel-and-stick panels, light seam pressure with a soft rubber roller is appropriate. Skip the brush entirely; it won’t apply enough pressure to bond the adhesive.
If you’re hanging non-woven paste-the-wall vinyl (the substrate used by most mid-tier brands including many Feathr and Photowall offerings): Non-woven means the backing is a synthetic fiber mat, not paper — it’s more dimensionally stable, less prone to tearing when wet, and more forgiving on repositioning. Use a plastic smoother for field work, a brush only around obstacles and details, and always roll seams at the 15–20 minute mark. Non-woven is the most forgiving substrate for intermediate installers.
If you’re hanging fabric-backed or grasscloth-style wallcovering: This is where the brush is non-negotiable. Fabric-backed papers mark under rigid plastic. Use your smoothing brush for the entire field, use your palm or a soft damp sponge at seams instead of a seam roller, and use a bone folder (wrapped in cloth) for corners. Go slow. Per Architectural Digest’s coverage of natural fiber wallcoverings, fabric-backed materials should never be over-wetted and should never have hard tools dragged across them.
If you’re specifying or supervising a commercial Type II or Type III architectural vinyl install (Koroseal, MDC Wallcoverings, Innovations in Wallcoverings): The Wallcovering Association’s commercial standards documentation is the reference — it calls for a full professional kit including a wide-field smoother, a dedicated seam roller with appropriate pressure calibration, and corner tools rated for heavier-gauge material. At the commercial scale, tool quality translates directly into labor hours and call-back risk.
The Honest Bottom Line
The total cost of a complete four-tool smoothing kit — brush, plastic smoother, seam roller, corner tool — runs roughly $40–$95 depending on quality tier. That’s a rounding error against the cost of any wallpaper project worth taking seriously, and a fraction of the cost of replacing a single damaged panel.
The decision rule is simple: if your substrate is smooth vinyl or peel-and-stick, optimize for the plastic smoother and seam roller, and skip the brush. If your substrate is textured, natural, or fabric-backed, lead with the brush and abandon the seam roller entirely. Mixing these up is where time goes — and where expensive material gets damaged.
The tools don’t do the work for you, but the wrong ones will undo it.